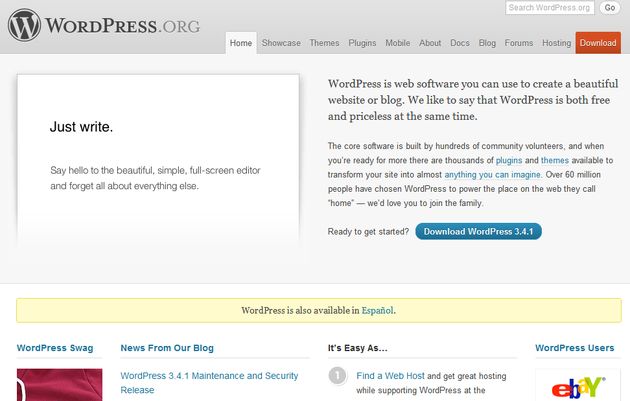
WordPress is a powerful and popular blogging platform that allows you to easily create and manage a website. To get started with WordPress, you will need a web server that supports PHP and a database to store your content. Fortunately, it is possible to set up WordPress on your local Windows machine using XAMPP, a free and open-source software package that provides an Apache web server, MySQL database, and PHP scripting language.
In this tutorial, we will guide you through the process of installing WordPress 3.4.1 on your local Windows machine using XAMPP.
Step 1: Download and Install XAMPP The first step is to download and install XAMPP. You can download XAMPP for Windows from the official website. Once you have downloaded the installation file, run it and follow the on-screen instructions to install XAMPP on your Windows machine.
Step 2: Start XAMPP and Start Apache and MySQL After installing XAMPP, start it and click on the “Start” button next to “Apache” and “MySQL” to start the web server and database server respectively.
Step 3: Download and Extract WordPress 3.4.1 Next, you need to download WordPress 3.4.1 from the official website. Once you have downloaded the zip file, extract it to the “htdocs” folder in the XAMPP installation directory (by default, this is located in C:\xampp\htdocs).
Step 4: Create a Database for WordPress Now, you need to create a database for WordPress. To do this, open a web browser and navigate to http://localhost/phpmyadmin/. Click on the “Databases” tab and enter a name for your database in the “Create database” field. Click on the “Create” button to create the database.
Step 5: Configure WordPress Next, open a web browser and navigate to http://localhost/wordpress/ (assuming you extracted the WordPress files to a folder named “wordpress” within the “htdocs” folder). This will launch the WordPress installation wizard. Follow the on-screen instructions to configure WordPress with the following information:
- Database Name: Enter the name of the database you created in step 4.
- Username: Enter “root” (without quotes) as the database username.
- Password: Leave this field blank.
- Database Host: Leave this field as “localhost”.
- Table Prefix: You can leave this as the default value (“wp_”).
After entering the information, click on the “Submit” button to continue.
Step 6: Complete the WordPress Installation In the next step, you will need to enter the site title, username, password, and email address for your WordPress site. Once you have entered this information, click on the “Install WordPress” button to complete the installation.
Congratulations! You have now installed WordPress 3.4.1 on your local Windows machine using XAMPP. You can now log in to your WordPress dashboard by navigating to http://localhost/wordpress/wp-admin/ and entering the username and password you created during the installation.
In conclusion, setting up WordPress on your local Windows machine using XAMPP is a great way to experiment and develop your website before publishing it on the internet. With this tutorial, you should now be able to get started with WordPress and take advantage of its powerful features.
